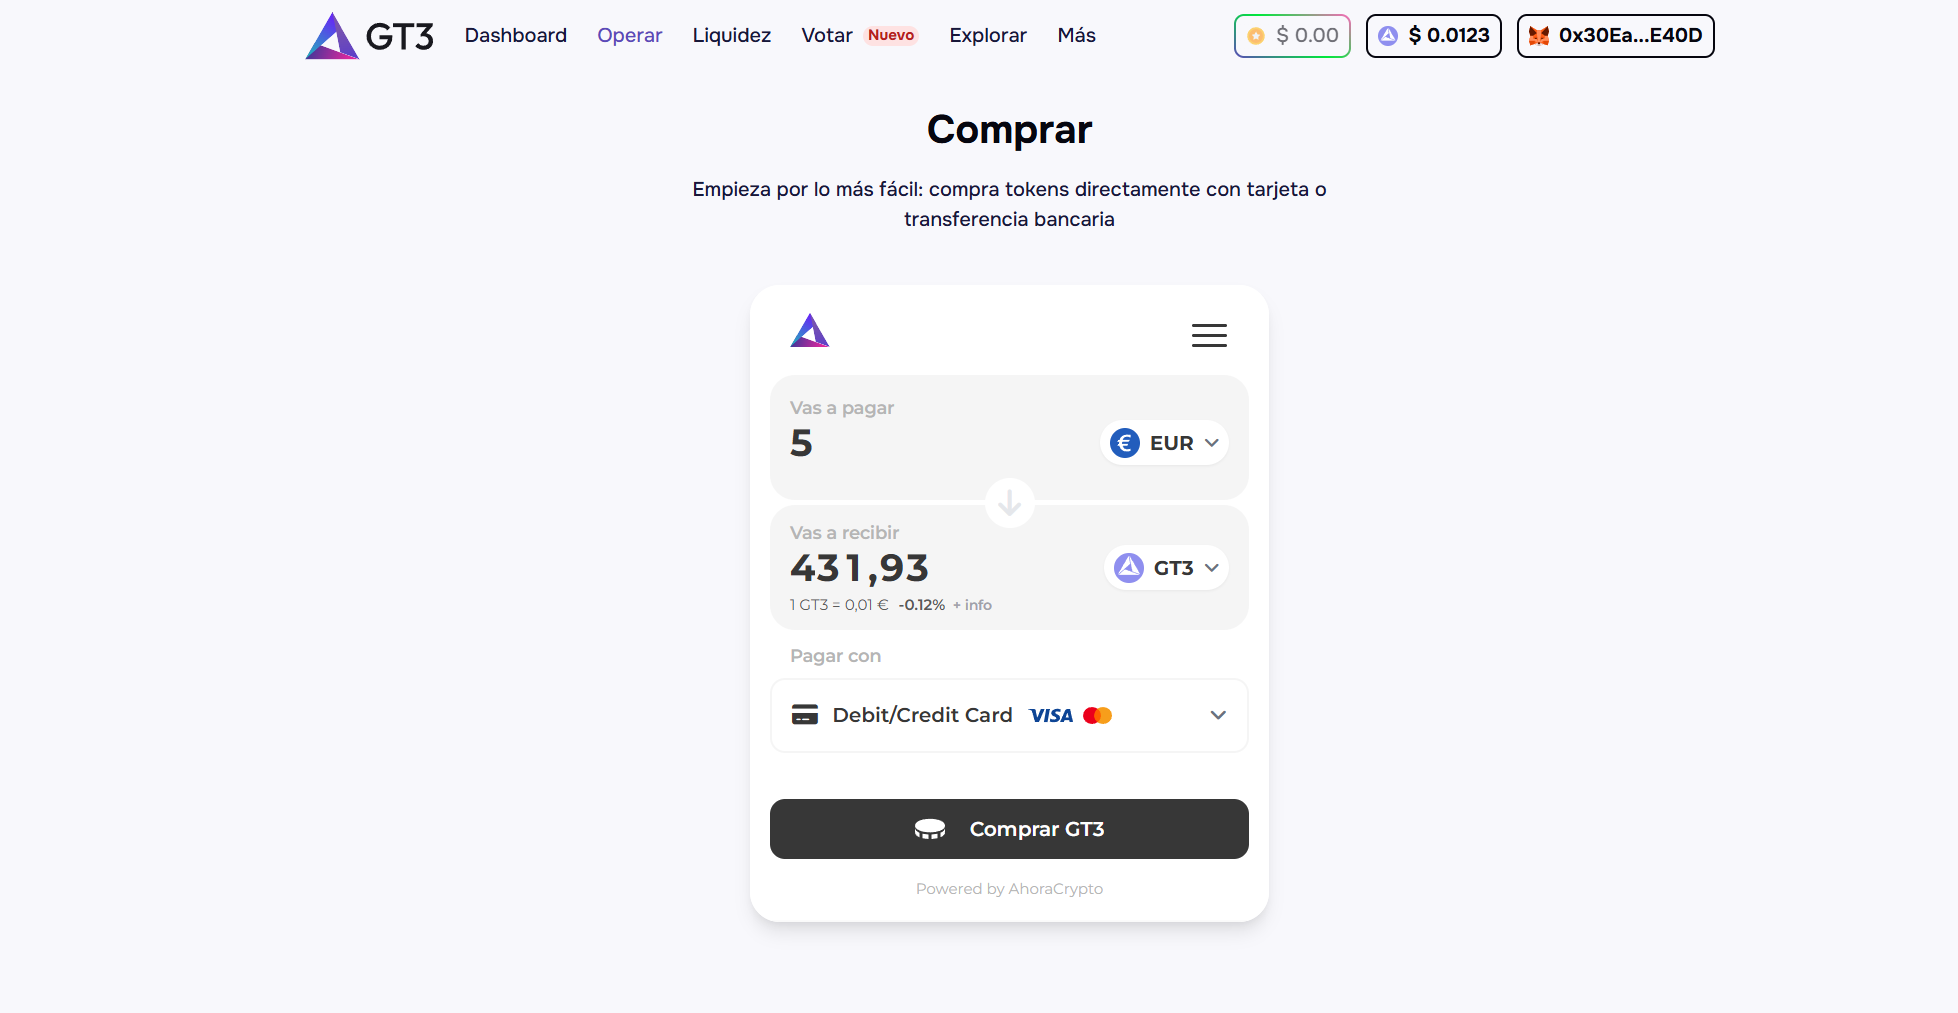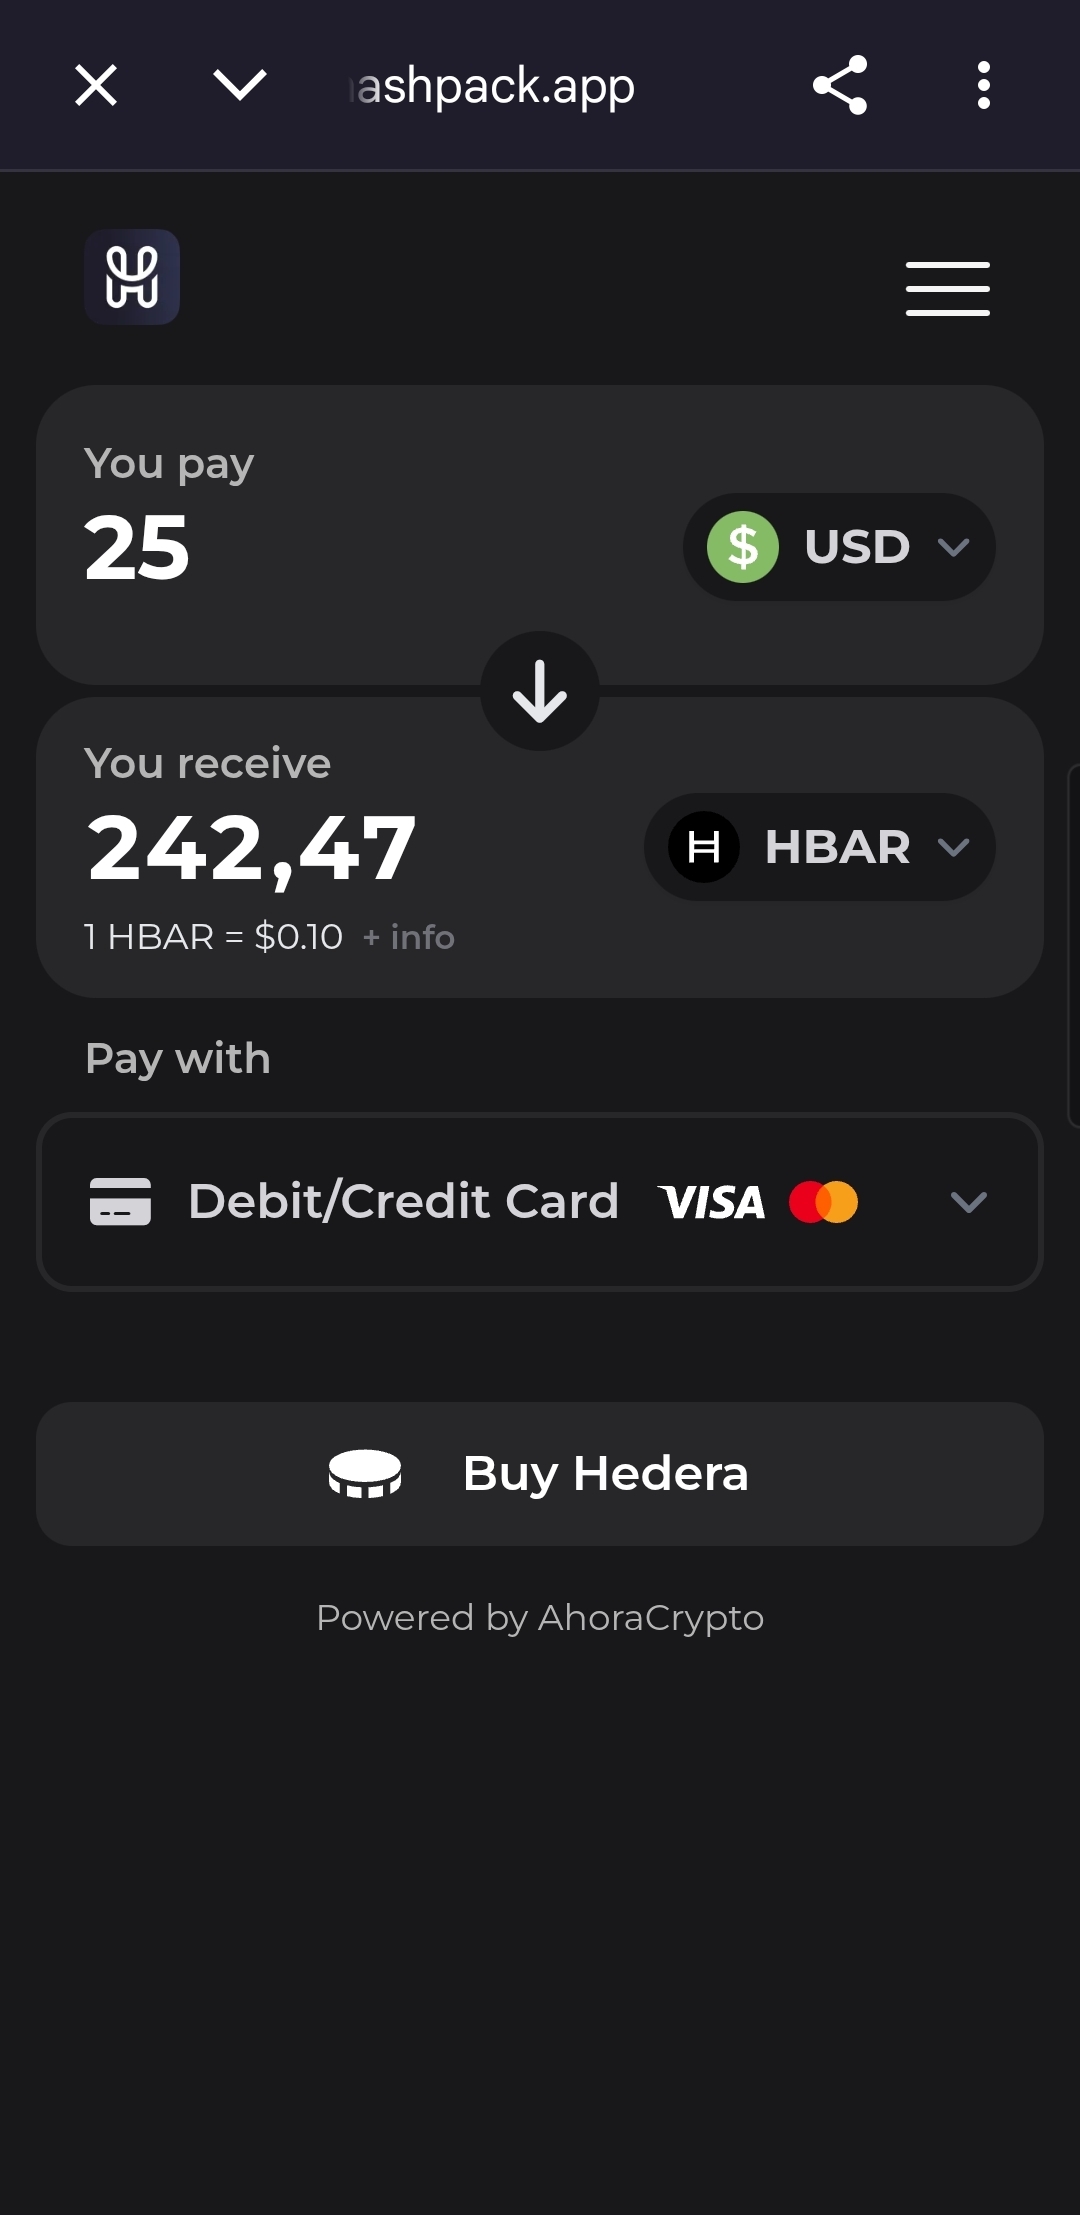
Web Widget
Web Widget enables your users to buy or sell crypto from your app or website.
AhoraCrypto Web Widget is a developer integration to onboard global users from fiat to crypto and back, using credit cards, debit, and local payment methods.
- Accept credit card, debit card, bank transfer, Apple Pay and Google Pay
- +40 cryptocurrencies and tokens supported
- More than 162 countries and territories supported
- Continuously adding new currencies, blockchains, digital assets and protocols
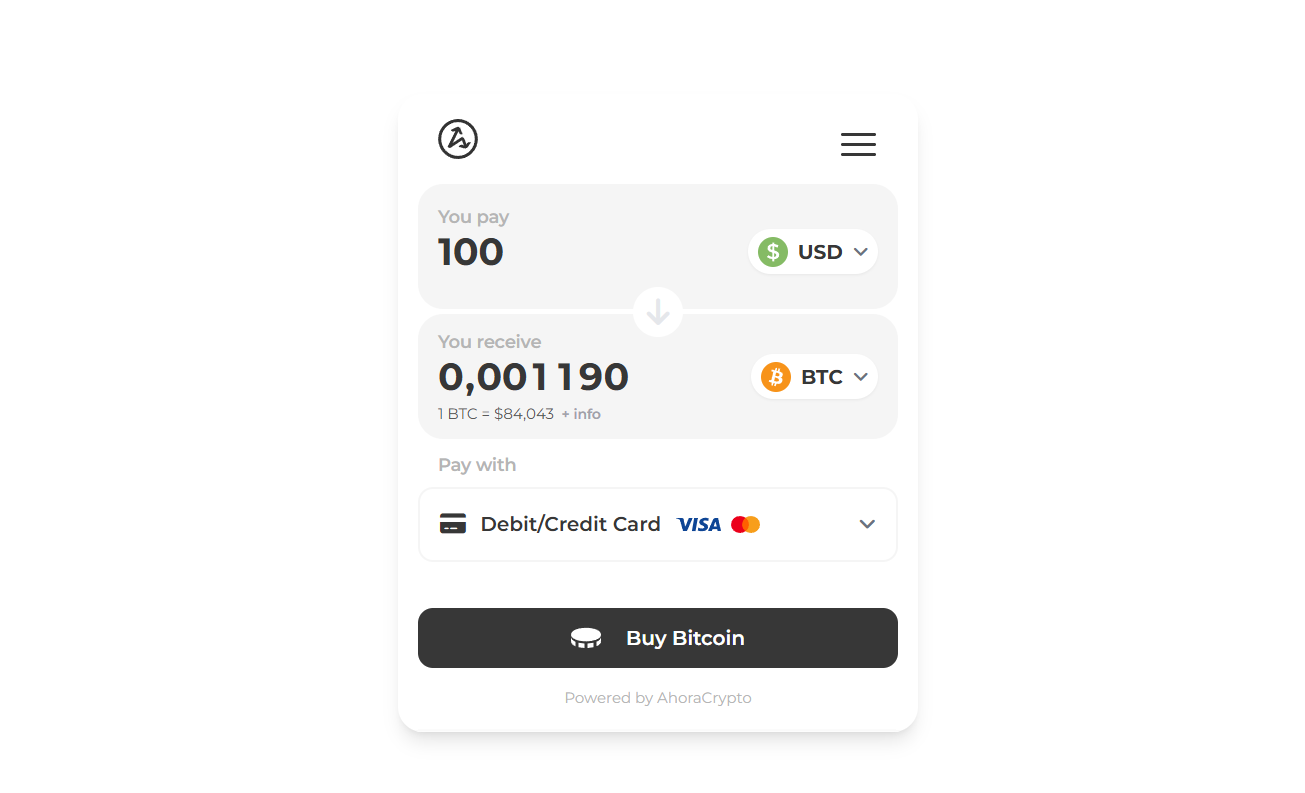
See it in action at https://webwidget.ahoracrypto.com
Installation
Using the JavaScript Widget
Include the script in your HTML page (at header section):
<script src="https://webwidget.ahoracrypto.com/webwidget.js"></script>Create a container element:
<div id="crypto-widget-container"></div>Initialize the widget:
<script>
    let widget = window.AhoraCrypto.renderWebwidget({
        containerId: 'crypto-widget-container', // Only required parameter
        language: 'en',
        cryptoCurrency: 'btc',
        fiatCurrency: 'usd'
    });
</script>
Interact with the widget (e.g. set a wallet address):
<script>
...
    // Wait for the widget to be ready before interacting with it
    widget.onReady(() => {
        widget.setWalletAddress('0x1234567890123456789012345678901234567890');
    }
...
</script>
Try it by yourself at https://webwidget.ahoracrypto.com
Configuration Parameters
All parameters are optional except for containerId. The widget will use default values for any parameters not explicitly provided.
| Parameter | Type | Required | Description |
|---|---|---|---|
containerId | string | Yes | ID of the HTML element where the widget will be rendered |
language | string | No | Language for the widget (e.g., 'en', 'es'). If not specified or set to 'auto', will use browser default |
cryptoCurrency | string | No | The default cryptocurrency to select (e.g., 'BTC') |
fiatCurrency | string | No | The default fiat currency to select (e.g., 'USD', 'EUR'). If not specified or set to 'auto', will detect user's region |
logoUrl | string | No | URL to a custom logo image to display at the top of the widget |
backgroundColor | string | No | Background color for the widget (HEX without #) |
buttonColor | string | No | Color for buttons (HEX without #) |
borderRadius | number | No | Widget border radius (in pixels) |
borderWithShadow | boolean | No | Whether to show a shadow around the widget border |
theme | string | No | The theme for the widget ('light', 'dark', or 'auto'). If set to 'auto', it will follow the user's system settings |
iframeWidth | number | No | Width of the iframe (default: 416px) |
iframeHeight | number | No | Height of the iframe (default: 510px) |
paymentIntentId | string | No | ID of a Payment Intent created from your backend. The widget opens prefilled with that Payment Intent and pays it at the end, without creating a new order (see Payment Intent flow) |
referral | string | No | Referral code or ID for tracking and attribution purposes. This allows you to identify transactions originating from your integration |
cryptos | string | No | Comma-separated list of cryptocurrency symbols to display (e.g., 'ETH,BTC,USDC'). If not specified, all available cryptocurrencies will be shown |
defaultNetwork | string | No | Default network to be selected (e.g., 'BSC', 'ETH'). If specified, this network will be selected by default |
Try it by yourself at https://webwidget.ahoracrypto.com
Payment Intent flow
Instead of letting the user choose what to buy, you can create a Payment Intent from your backend and open the widget to complete it, by passing its ID as paymentIntentId:
// 1. From your backend (never expose your API key in the browser), create the
//    Payment Intent and pass its id to the page:
//    POST https://api.ahoracrypto.com/payment/intent  ->  { "id": "3f2a...", ... }

// 2. Open the widget for that Payment Intent
let widget = window.AhoraCrypto.renderWebwidget({
    containerId: 'widget-container',
    paymentIntentId: '3f2a...'
});
When opened for a Payment Intent, the widget behaves as follows:
- The operation comes prefilled. The widget starts with its usual screens, already filled in with the Payment Intent's cryptocurrency, fiat currency, amount, destination wallet and network. What is paid at the end is always the Payment Intent as you created it.
- The user is signed in automatically. As soon as the widget opens, it signs in the Payment Intent's user, replacing any session open in the browser. If that user was created by your store (through one of your Payment Intents, for example identified by
externalUserId), the session is a regular one. Otherwise, for instance if they already had an AhoraCrypto account, the session only allows completing this Payment Intent. - Only the missing steps are shown. After the prefilled screens, the user goes straight to payment when everything is in place. If not, the widget first asks for what is missing: an email when the user has none (a Payment Intent created with
externalUserIdand noemail), and the KYC verification while it is still pending. - Returning users go faster. A user identified again with the same
externalUserIdkeeps their verified email and KYC, so later Payment Intents usually go straight to payment. - The payment settles the Payment Intent. The widget pays the Payment Intent's own order, it never creates a separate one. Its status,
ipnUrlnotifications and order number work exactly as described in the Payment Intent API. - Payment Intents that can no longer be paid (already paid, expired or cancelled) show an error instead of the payment screen.
Widget Controller Methods
The renderWebwidget function returns a controller object that provides methods to interact with the widget:
| Method | Description | Parameters |
|---|---|---|
setWalletAddress | Sets a wallet address in the widget | walletAddress (string): The crypto wallet address to use |
setPaymentIntentId | Updates the payment intent ID in the widget. To open the widget for a Payment Intent, pass paymentIntentId to renderWebwidget instead (see Payment Intent flow) | paymentIntentId (string): The payment intent ID to use |
sendSignedMessage | Sends a signed message to the widget | signature (string): The signed message. address (string): The address that signed the message. messageHash (string, optional): Hash of the original message |
requestMessageToSign | Requests a message to sign from the widget | None |
connectWeb3Wallet | Connects a Web3 wallet to the widget | provider (object): The Web3 provider (e.g., from MetaMask). accountAddress (string): Current wallet address. chainId (number): Current blockchain network ID |
onReady | Registers a callback function to be executed when the widget is fully loaded | callback (function): Function to execute when ready |
ready | Returns a Promise that resolves when the widget is fully loaded | None |
isReady | Returns whether the widget is fully loaded | None |
Ready State Handling
It's important to wait for the widget to be fully loaded before interacting with it. There are three ways to do this:
1. Using the callback approach:
let widget = window.AhoraCrypto.renderWebwidget({
    containerId: 'widget-container'
});

widget.onReady(() => {
    console.log('Widget is now ready!');
    widget.setWalletAddress('0x1234567890123456789012345678901234567890');
});
2. Using the Promise-based approach with async/await:
async function initWidget() {
    const widget = window.AhoraCrypto.renderWebwidget({
        containerId: 'widget-container'
    });

    // Wait for the widget to be ready
    await widget.ready();

    console.log('Widget is ready!');
    widget.setWalletAddress('0x1234567890123456789012345678901234567890');
}

initWidget();
3. Checking the ready state:
const widget = window.AhoraCrypto.renderWebwidget({
    containerId: 'widget-container'
});

// Poll the ready state (not recommended, use onReady or ready() instead)
const checkReady = setInterval(() => {
    if (widget.isReady()) {
        console.log('Widget is ready!');
        widget.setWalletAddress('0x1234567890123456789012345678901234567890');
        clearInterval(checkReady);
    }
}, 100);
Examples
Example of using widget methods
// Initialize the widget and get the controller
let widget = window.AhoraCrypto.renderWebwidget({
    containerId: 'widget-container',
    // other parameters...
});

// Wait for the widget to be ready before interacting with it
widget.onReady(() => {
    // Set a wallet address
    widget.setWalletAddress('0x1234567890123456789012345678901234567890');

    // Set a payment intent ID
    widget.setPaymentIntentId('pi_3N5555555555555555555555');
});
Web3 Wallet Integration Example
// Initialize the widget
let widget = window.AhoraCrypto.renderWebwidget({
    containerId: 'widget-container',
    cryptoCurrency: 'eth'
});

// Connect to MetaMask or other Web3 wallet
async function connectWallet() {
    if (window.ethereum) {
        try {
            // Request account access
            const accounts = await window.ethereum.request({ method: 'eth_requestAccounts' });
            const chainId = await window.ethereum.request({ method: 'eth_chainId' });

            // Wait for the widget to be ready
            await widget.ready();

            // Connect the wallet to the widget
            widget.connectWeb3Wallet(
                window.ethereum,             // Provider
                accounts[0],                 // Current account address
                parseInt(chainId, 16)        // Current chain ID
            );

            console.log('Wallet connected:', accounts[0]);
        } catch (error) {
            console.error('Error connecting wallet:', error);
        }
    } else {
        console.error('Web3 provider not found. Please install MetaMask or another wallet');
    }
}

// Example function to sign a message
async function signMessage(message) {
    if (window.ethereum) {
        try {
            const accounts = await window.ethereum.request({ method: 'eth_accounts' });
            if (accounts.length === 0) {
                alert('Please connect your wallet first');
                return;
            }

            // Ensure widget is ready
            await widget.ready();

            // Get the message to sign from the widget
            widget.requestMessageToSign();

            // Set up listener for the message from the widget
            window.addEventListener('message', async (event) => {
                if (event.data && event.data.type === 'MESSAGE_TO_SIGN') {
                    const messageToSign = event.data.message || message;

                    // Sign the message with the wallet
                    const signature = await window.ethereum.request({
                        method: 'personal_sign',
                        params: [messageToSign, accounts[0]]
                    });

                    // Send the signed message back to the widget
                    widget.sendSignedMessage(signature, accounts[0], Web3.utils.keccak256(messageToSign));
                }
            }, { once: true }); // Only handle this once
        } catch (error) {
            console.error('Error signing message:', error);
        }
    }
}

// Attach the connect function to a button
document.getElementById('connect-wallet-btn').addEventListener('click', connectWallet);
Customization example
let widget = window.AhoraCrypto.renderWebwidget({
    containerId: 'widget-container', // Only required parameter
    language: 'en',
    cryptoCurrency: 'btc',
    fiatCurrency: 'usd',
    logoUrl: 'https://ahoracrypto.com/en/assets/images/logo.png',
    backgroundColor: 'FCE8D5',
    buttonColor: 'F7931A',
    borderRadius: 24,
    borderWithShadow: true,
    theme: 'light',
    iframeWidth: 416,
    iframeHeight: 510,
    paymentIntentId: 'pi_3N5555555555555555555555',
    referral: 'partner123', // Referral code for tracking and attribution
    cryptos: 'ETH,BTC,USDC',  // Only show these cryptos
    defaultNetwork: 'BSC'    // Set BSC as default network
});
Real-world examples
Examples from other websites: